The road to nirvana |
|
My journey into Photography, Horology, and Audiophilia |
Creating a custom filament profile for the Cetus 2 3D printer
January 7, 2022
In the previous version of UP Studio, creating a custom filament profile is made using another software called Materials Manager. This can be downloaded from the Tiertime website and is available for both MacOS and Windows.
With UP Studio 3, we don't need that software anymore as custom filament profiles can be created right inside UP Studio 3. Here's how...
Creating a custom filament profile
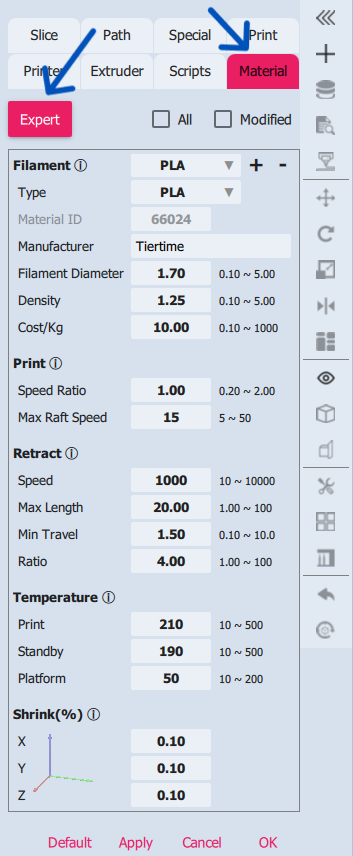
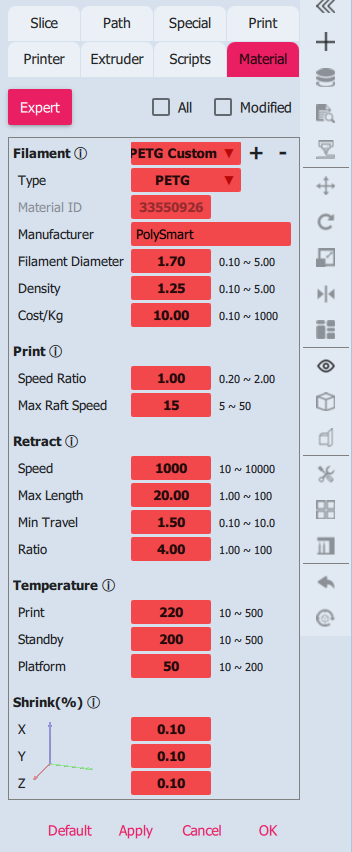
Open UP Studio 3 and enable expert mode by clicking the Mode button that goes from Basic, Advanced, and Expert. Make sure it shows Expert then click the Material tab. The screen should be like in the photo.
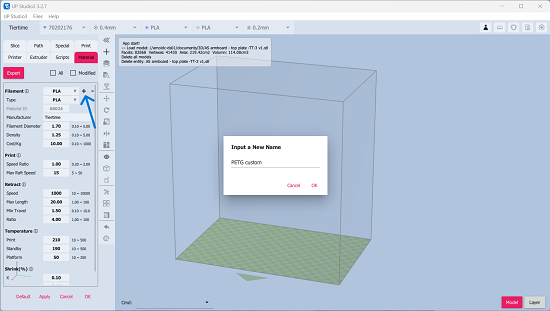
Click the + symbol beside the Filament textbox and a pop-up window will appear allowing you to enter a custom filament name. I used 'PETG custom' as shown below.
After entering the name, the pop-up window will show a drop down list where you can copy from existing profiles. Click the drop down list and make an appropriate selection, I selected PLA and will adjust the properties later.

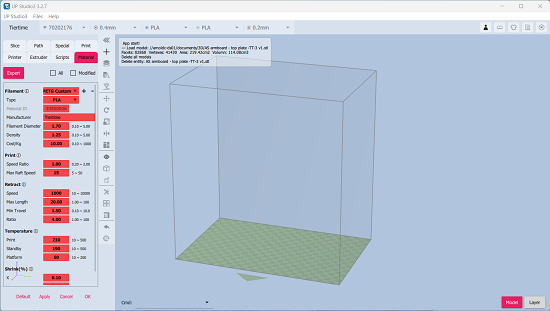
The material property fields will now have colored (light red?) background to indicate they can be changed.
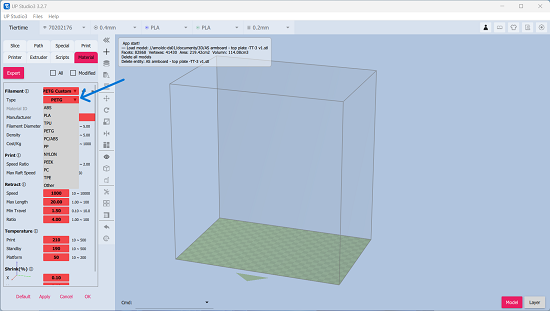
Click the dropdown field beside the Type parameter. It will show a list of available materials and I selected PETG.
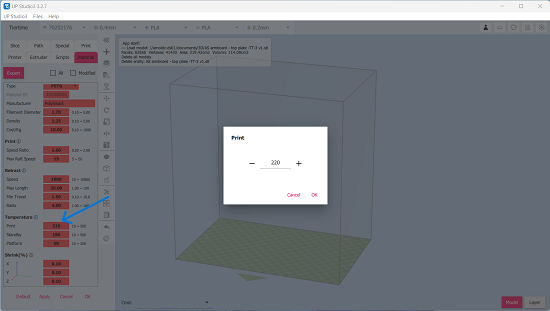
Continue changing each parameter to the values you need for the specific material. My PETG filament stated 220-230 as the temperature so I entered 220.
These are the values I have for the my custom PETG filament profile.
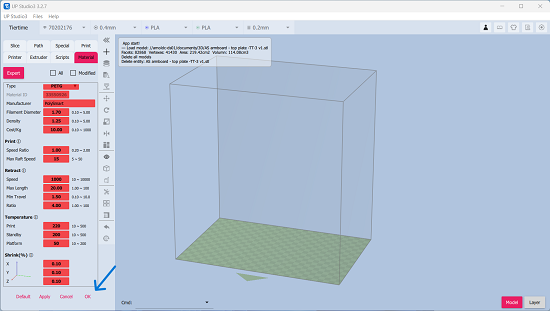
Don't forget to click Apply first then OK to save the custom filament profile for future use.
That's it. Happy printing!
By the way, if you don't see the mode, i.e., Basic, Advanced, or Expert, do the following:
-
select your printer serial number from the drop-down list (make sure Wand is running and connected to your Cetus 2)
-
Click the gear icon to the right of the profile name (Default)
