The road to nirvana |
|
My journey into Photography, Horology, and Audiophilia |
Post-processing: Blur
Workflow
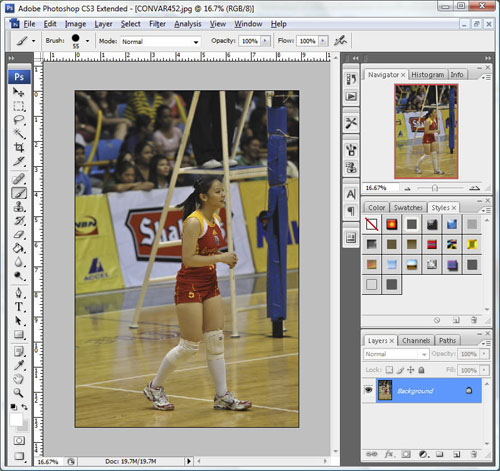
1. Open the photo of your choice.
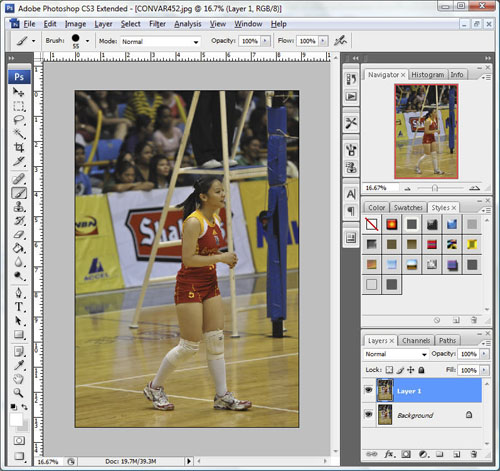
2. Create a new layer using CTRL-J. Select Layer 1.
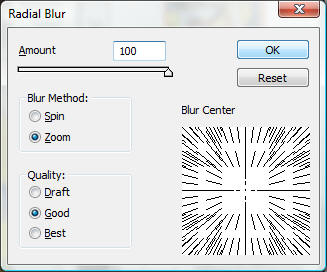
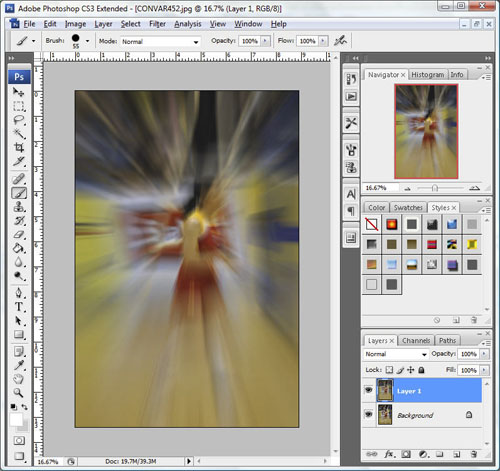
2. Apply Filter->Blur->Radial Blur and for maximum effect I use the following settings. You work on what you think is best for your image. Make sure the Blur Center is positioned appropriately against your image.
3. On completion of the processing. You'll see the blur effect.
4. You would want to reveal the subject to "un-blur" so set the Layer 1 opacity to 50%, and you would see the outline of your subject.

5. From the Tools Palette, select the Eraser tool and use the appropriate brush shape to reveal your subject.

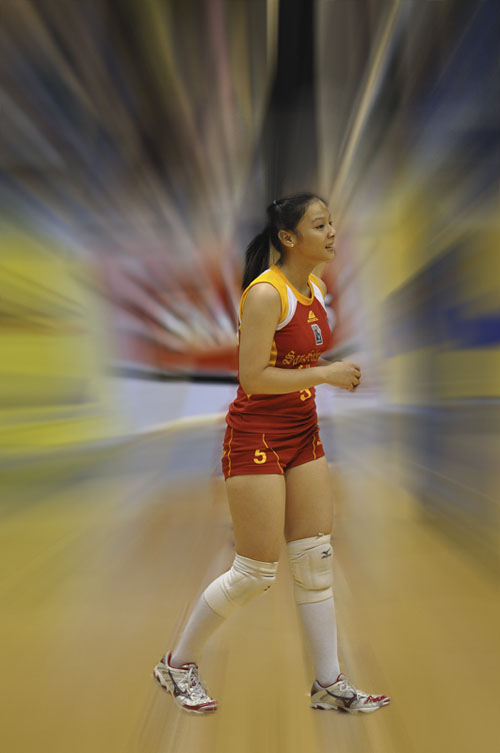
6. Once you're done, set Layer 1 opacity back to 100% then flatten the image. Save it and the finished photo will look like this-